What is a Soldering Iron?
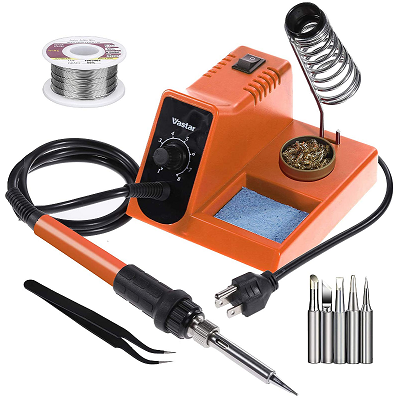
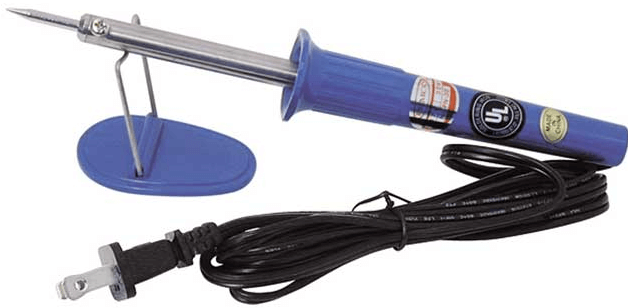
A physical device that is used for soldering purposes is known as Soldering iron. It helps in supplying heat to the metallic weld which in turn joins two discrete pieces together by making a bond in between. The physical bond can be between two different components, a board or wire piece. The rapid oxidation of the soldering iron holder gets easily contaminated by particulate matter. Oxidation reactions taking place will resist the transfer of energy. Thus reducing the efficiency of project work completion. The heat energy passes from the metal tip to the constituent elements, which we are working with until and unless the solder is being repelled. The phenomenon is called Heat Bridge. Undoubtedly it is preferable to clean the oxides at regular intervals for the proper functioning of the soldering iron.
Methods
With the correct cleaning methods, one can get rid of unnecessary oxide deposition, corrosion, and rusting that would otherwise cause a great amount of energy loss. The coating of oxides and burnt flux remnants not only dramatically decreases the heat conduction but also does not allow the solder to wet or stick in the tip of the respective components. Following the steps below will keep the soldering iron in a good condition. Regular maintenance will avert any kind of damage for a long period and keep it in bearable condition over the years round.
Method 1: Cleaning the Tip
How to use soldering iron? How to use solder flux? How to fix headphones without soldering? How to solder copper pipe? How hot does a soldering iron get?
1. Before Cleaning Let the Soldering Iron Cool.
Turn off the electricity source and leave the soldering iron for about 15 to 20 minutes. This will help the soldering iron to get back to the optimum room temperature. This helps to prevent unnecessary accidents.
2. Wipe the Soldering Iron with a Damp, Cellulosic, and Sulfur-free Sponge.
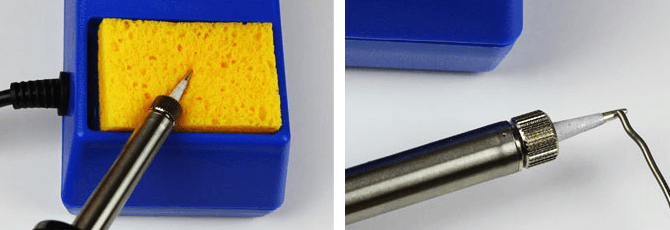
Rub over the top coating of soldering iron with the help of cellulose and sulfur-free sponge. The meagre depositions will easily fall off the surface. This step not only helps to get rid of the particulate matter but also ensures that the body of soldering iron is completely cold and safe to handle. The cellulose and sulfur-free sponges are used to prevent the deposition of the constituent particles they are made up of respectively.
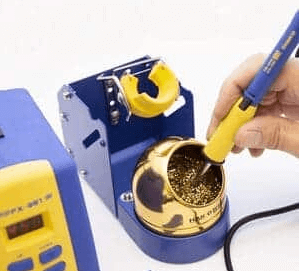
3. Using Damp Steel Wool for Getting Rid of Surface Rust or Stains.
Cleaning the soldering iron regularly helps to increase the longevity of the product. To remove the stubborn deposits like rust and particles that lead to discoloration, use a ball of steel wool. Steel wool is a mesh-like woolen ball made up of alloys that easily do not react with a soldering iron. Slightly dampen the steel wool and scrub the tip of the soldering iron as it will help in removing the rust and other heavy deposits, which are being accumulated over time. Please note that do not use sandpaper as it might increase the corrosiveness of the peak.
Method 2: Tinning the Iron
1. Wearing Eye Protection During Tinning the Peak.
A coat of tin on the surface of the soldering iron to prevent it from rusting or any oxidization reaction is called tinning. And the phenomenon of the popping of solder pieces while hitting it is called spitting. Thus to avoid such minor accidents, certain steps should be kept in mind:
Tinning helps in the prevention of rusting and accumulation of energy. Therefore it reduces wastage of extra amount of power source. Good quality goggles should be worn in terms of protecting our eyes while spitting a red hot soldering iron. To be extra cautious about your health and hygiene, make sure to wash hands with soap after every use. The intake of any kind of poisonous substances like lead or tin causes damage to the visceral organs.
2. Applying a Little Amount of Pure Solder to the Peak of Iron.
Melting a small amount of solder in the tip region keeps the heat bridge working evenly. A thin fresh coat on the tip not only keeps the efficiency constant but also prevents rusting.
3. Keeping the Solder at the Place with Alloy Cleaner.
Turn off the electricity supply from that of the soldering iron. Cool it down to room temperature to avoid burns. Do not forget to apply a generous amount of alloy cleaner and rub it on the tip by the help of a cloth of microfiber. This step ensures the minimization of unavoidable depositions of rust and oxidized substances.
Method 3: Maintaining the Solder Iron
1. Use the High-Quality Soldering
Purchasing solder of high-quality is indeed a cost-worthy deal that will be proved over time. Cheaper solder might get damaged very frequently and might also contain impurities that in turn reduce the abilities for transferring heat. The good quality solders are 50/50 or 60/60 solders. The numerator denotes the percent of tin and the denominator indicates the percentage of lead present.
2. Removing Accumulation of Debris after Each and Every Use
After the removal of the peak, give a good tap to the barrel, which is attached to the insulating handle. This will help to unclog the tiny pores of the solder tip. Thus restoring the efficiency. The steps should be done only when there is no electric source attached and the heat is bearable.
3. Check the Cord of Solder Iron for Cracks or Burns
Due to a high heat transfer, the solder iron’s cord might get eventually damaged. An experienced electrician should be hired to exchange the old cord with that of the new one. Working with a damaged and worn out cord might prove to be fatal and ineffective.
4. Wiping off the Tip of Iron Between Strokes
Periodic cleaning of soldering iron after every usage with a single wet sponge, specifically a cellulose and sulfur-free sponge, will avoid the tendency of deposition of rust and other oxide impurities. Cleaning after a stroke does not allow the formation of a stubborn impurity layer on the surface.
Why do they Need Maintenance?
Soldering iron functions at high temperatures. This is reached gradually when current is passed through it. The tip is designed to be robust but over time can get damaged if neglected. The soldering iron requires very little maintenance. The high temperature of the tip results in oxidation of the metal surface. Gradual accumulation can deposit layers of metal oxides, reducing the efficiency of the iron. Once heated, removing the previously soldered residue with a moist sponge is a must. You should take care that the sponge is wet, lest it will get charred. After cleaning, tinning should be done as it keeps the tip healthy.
Still Not Clean?
Sometimes, it can happen that the solder iron tip may not be clean after rubbing against a moist sponge. Another available option to try is the use of solder wire or flux. Solder wire with flux core can help to clean the tip while tinning. Applying a small amount of flux-cored wire or solder flux will be enough. After all, both aim to achieve the same thing. Now you can rub off the excess flux or molten wire.
Really Oxidized?
The above methods generally work only for deposited solder wire. If slight oxidation has set in, the previous methods tend to fail. Fret not, there is a way to clean this. You can purchase a tip cleaner from a local shop. Tip cleaner is a more corrosive flux than its counterpart used in actual soldering action. This cleaner is composed of corrosive flux and solder, which is in powder form. To apply the tip cleaner, first heat the soldering iron. Then, dip the tip in the cleaner and do a slight twist action. Now remove the tip and clean it with a moist sponge to remove the cleaner. Once clean and shiny, perform tinning and now your tool is ready to use.
In Conclusion
Soldering iron only works if there is a temperature difference. The heat travels from a component of higher heat energy to lower heat energy. Excess of heat energy given to the soldering iron is just wastage. Maintaining the temperature to an optimum range of 800 degrees Fahrenheit or 427 degrees Celsius will prove to be enough. Keeping the temperature in check avoids rapid oxidation. Thus keeping in mind these few tips and tricks will not only increase the work efficiency but also leads to an increment of the object’s endurance in all together. Comment * Name * Email * Website
Δ


![]()